

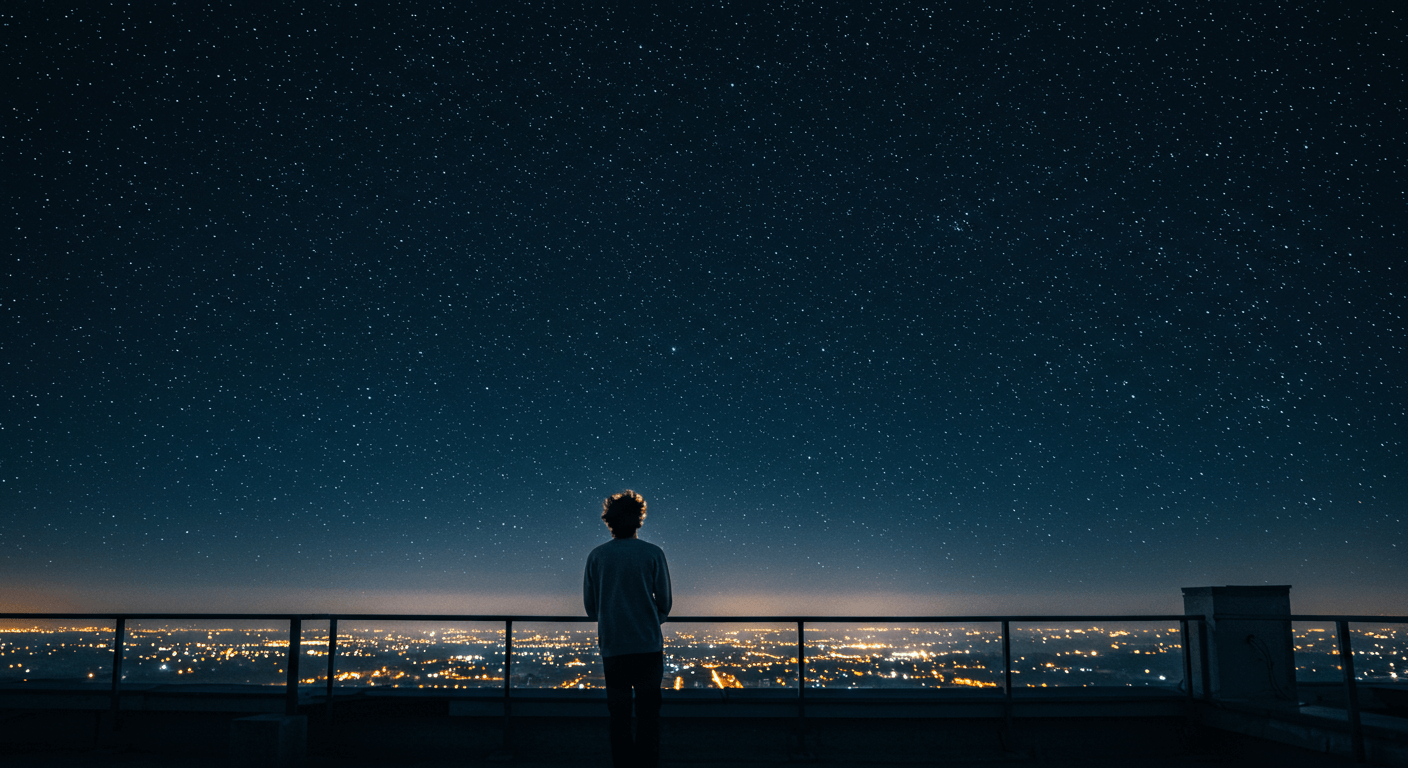
In the heart of the city, where neon signs and skyscrapers dominate the skyline, it’s easy to assume that the stars are out of reach. But with a little creativity and preparation, any urban dweller can transform a rooftop into a personal observatory. Whether you’re a beginner looking through binoculars or an amateur astronomer with a small telescope, rooftop stargazing is an accessible and magical way to reconnect with the night sky
Why Rooftop Stargazing?
- Escape city stress: A quiet rooftop offers a peaceful break from traffic and screens.
- Accessible astronomy: No need to drive hours to a dark-sky park.
- Community building: Hosting friends or neighbors for a shared experience.
- Affordable hobby: Basic gear and free apps can get you started.
Finding the Perfect Rooftop
Permissions and Access
First, ensure you have legal access to the rooftop. If you rent or own, check building bylaws, homeowner association rules, or speak with your landlord or condo board. Some buildings require liability waivers or a small fee for rooftop use. Secure permission in writing to avoid surprises.
Safety First
Always inspect the rooftop for hazards: loose railings, tripping points, or unstable surfaces. Bring a friend or let someone know your plan. Pack a small first-aid kit, wear non-slip shoes, and carry a headlamp with a red light mode to preserve your night vision.
Essential Gear & Apps
- Binoculars or Telescope: For starters, 8×42 binoculars are affordable and portable. A small refractor telescope around 70–80 mm aperture opens up planetary views.
- Red LED Flashlight: Prevents glare and maintains your eyes’ dark adaptation.
- Smartphone Apps: Sky Guide, Stellarium Mobile, or Sky Safari map constellations in real time.
- Star Chart or Planisphere: A manual backup in case your phone battery dies.
- Comfort Items: Folding chairs, blankets or cushions, and a thermos of hot tea or cocoa.
Overcoming Light Pollution
City lights scatter and wash out faint stars, but you can still spot bright constellations, planets, and the Milky Way core if you pick your timing. Here’s how:
- Use a Light Pollution Filter: Clip-on filters for binoculars or telescopes help reduce sodium-vapour glow.
- Shield Nearby Lights: Position yourself on the rooftop’s darker side or use an umbrella to block overhead fixtures.
- Avoid Twilight: Wait at least 90 minutes after sunset when the sky is fully dark.
- Track Moon Phases: A new moon night offers the deepest darkness; avoid the nights around a full moon.
Planning Your Stargazing Session
Great rooftop stargazing requires more than pointing and looking. Plan ahead to maximize your success and comfort.
Check the Weather
Clear skies are a must. Use weather apps with cloud-cover forecasts like Clear Outside or Ventusky. Avoid nights with high humidity or haze, which scatters city lights even more.
Time Your Session
Aim for mid-late evening when city noise has died down but temperatures haven’t plunged. In summer, 10 PM–midnight is ideal; in winter, aim for early evening but bundle up.
Conducting Your Stargazing
Start with Naked-Eye Astronomy
Before unpacking gear, spend 5–10 minutes simply looking up. Identify bright constellations—Orion in winter or Scorpius in summer. Let your eyes adjust fully in the dark (about 20–30 minutes).
Move to Binoculars & Telescope
Scan the sky systematically. Pick one object at a time: the moon’s craters, Jupiter’s moons, Saturn’s rings, or the Andromeda Galaxy. Use star-chart apps to center your viewing and learn celestial coordinates.
Note-Taking & Sketching
Keep a small notebook to jot down observations: date, time, object, seeing conditions, and any surprises. Sketch what you see—it’s a proven way to train your eye to discern detail.
Hosting a Rooftop Stargazing Event
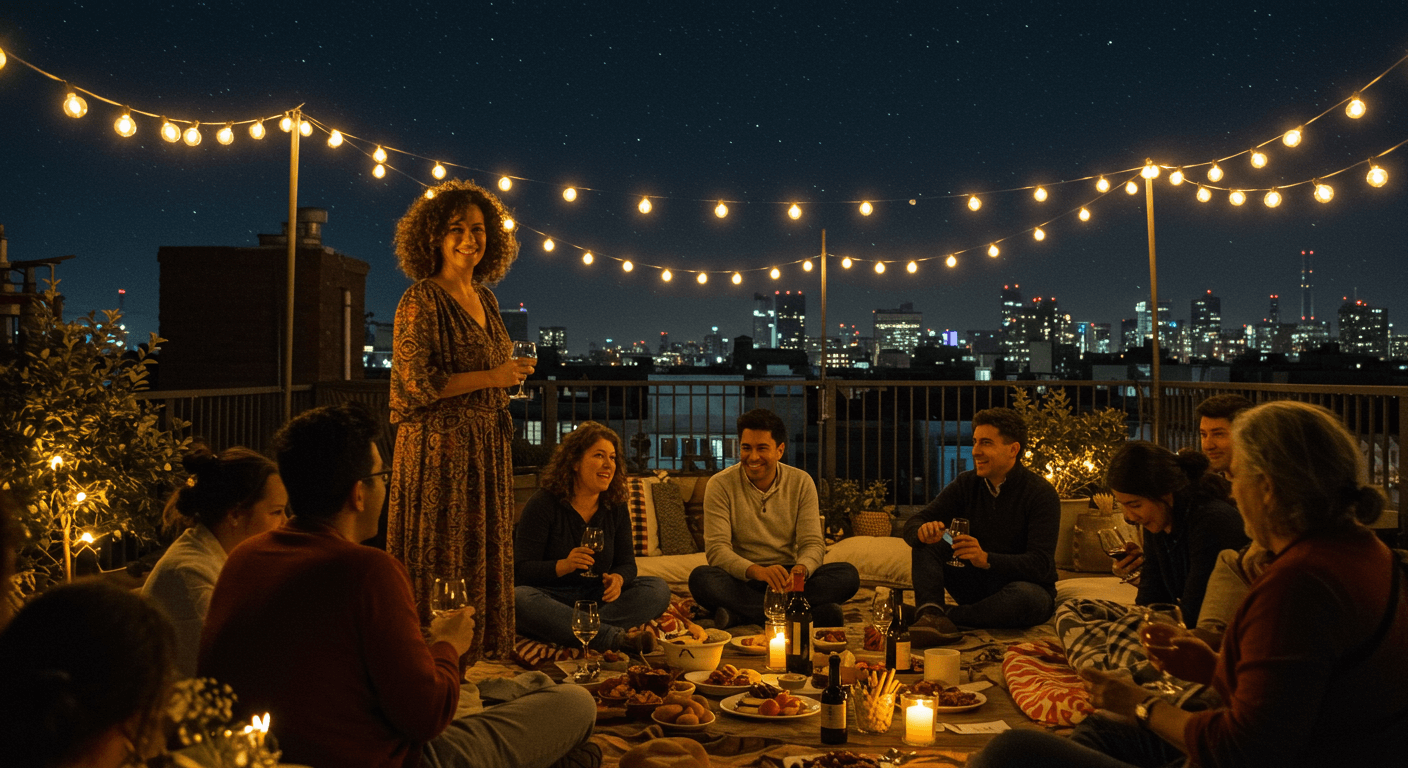
Stargazing can be a social experience. Invite friends, neighbors, or local astronomy clubs.
- Create a Relaxed Atmosphere: Soft acoustic background music, fairy lights around seating areas.
- Serve Themed Snacks: Star-shaped cookies, moon-phase cupcakes, or cosmic cocktails (mocktails).
- Share Knowledge: Prepare fun fact cards about planets, constellations, and astro-myths.
Photography Tips for the Night Sky
Capture the moment and build content for your social media or personal album.
- Use a DSLR or Mirrorless Camera: Set on a tripod, wide-angle lens (14–24 mm), aperture f/2.8 or wider.
- Manual Mode: ISO 1600–3200, shutter speed 15–20 seconds to avoid star trails, focus manually at infinity.
- Remote Shutter or Timer: Prevents camera shake.
- Light Painting: Briefly illuminate the rooftop foreground with a dim red flashlight for a dramatic effect.
Conclusion
Rooftop stargazing is a rewarding urban experience that blends science, adventure, and relaxation. With permissions sorted, safety measures in place, and the right gear, you can host memorable nights under the stars without ever leaving the city limits. Whether you’re going solo or sharing the magic with friends, this DIY observatory transforms any rooftop into a portal to the cosmos. Sweet skies await! For more creative ways to enjoy your city without traveling far, check out our guide to Staycation Secrets.


